- Photo capture and enrollment is made easier when you capture, crop and save the photo within the badge record using a connected web camera.
- Make sure the badge camera is set to low resolution, as high resolution will only take up more hard drive space and can slow down the printing process. Your PVC printer prints at 300 DPI, so there is no need to capture higher resolution images.. Do not worry, if you capture the photo as instructed below, you will capture and print very high quality photos.
- If possible, it is best to capture photos while the person is sitting, as it requires less camera adjustment.
- Use a back drop so your badge photos look professional. This also helps with image quality. The back drop material acts as a light diffuser and reduces glare. This can be as simple as purchasing a 3′ x 3′ piece of light blue felt and some push pins, and affixing to your wall. Or for under $200 you can get a professional backdrop tripod and stand and look like a pro.
- We do not recommend using backdrops for color coding. If you are capturing your photos properly you should not see much of the back drop. Use the power of your badging software and have it print the color codes on the badge.
- The camera is best set 4 to 5 feet away from the person. The zoom can be a great thing, but can cause grainy photos if not used properly. When the camera powers down, any zoom configuration will default to normal.
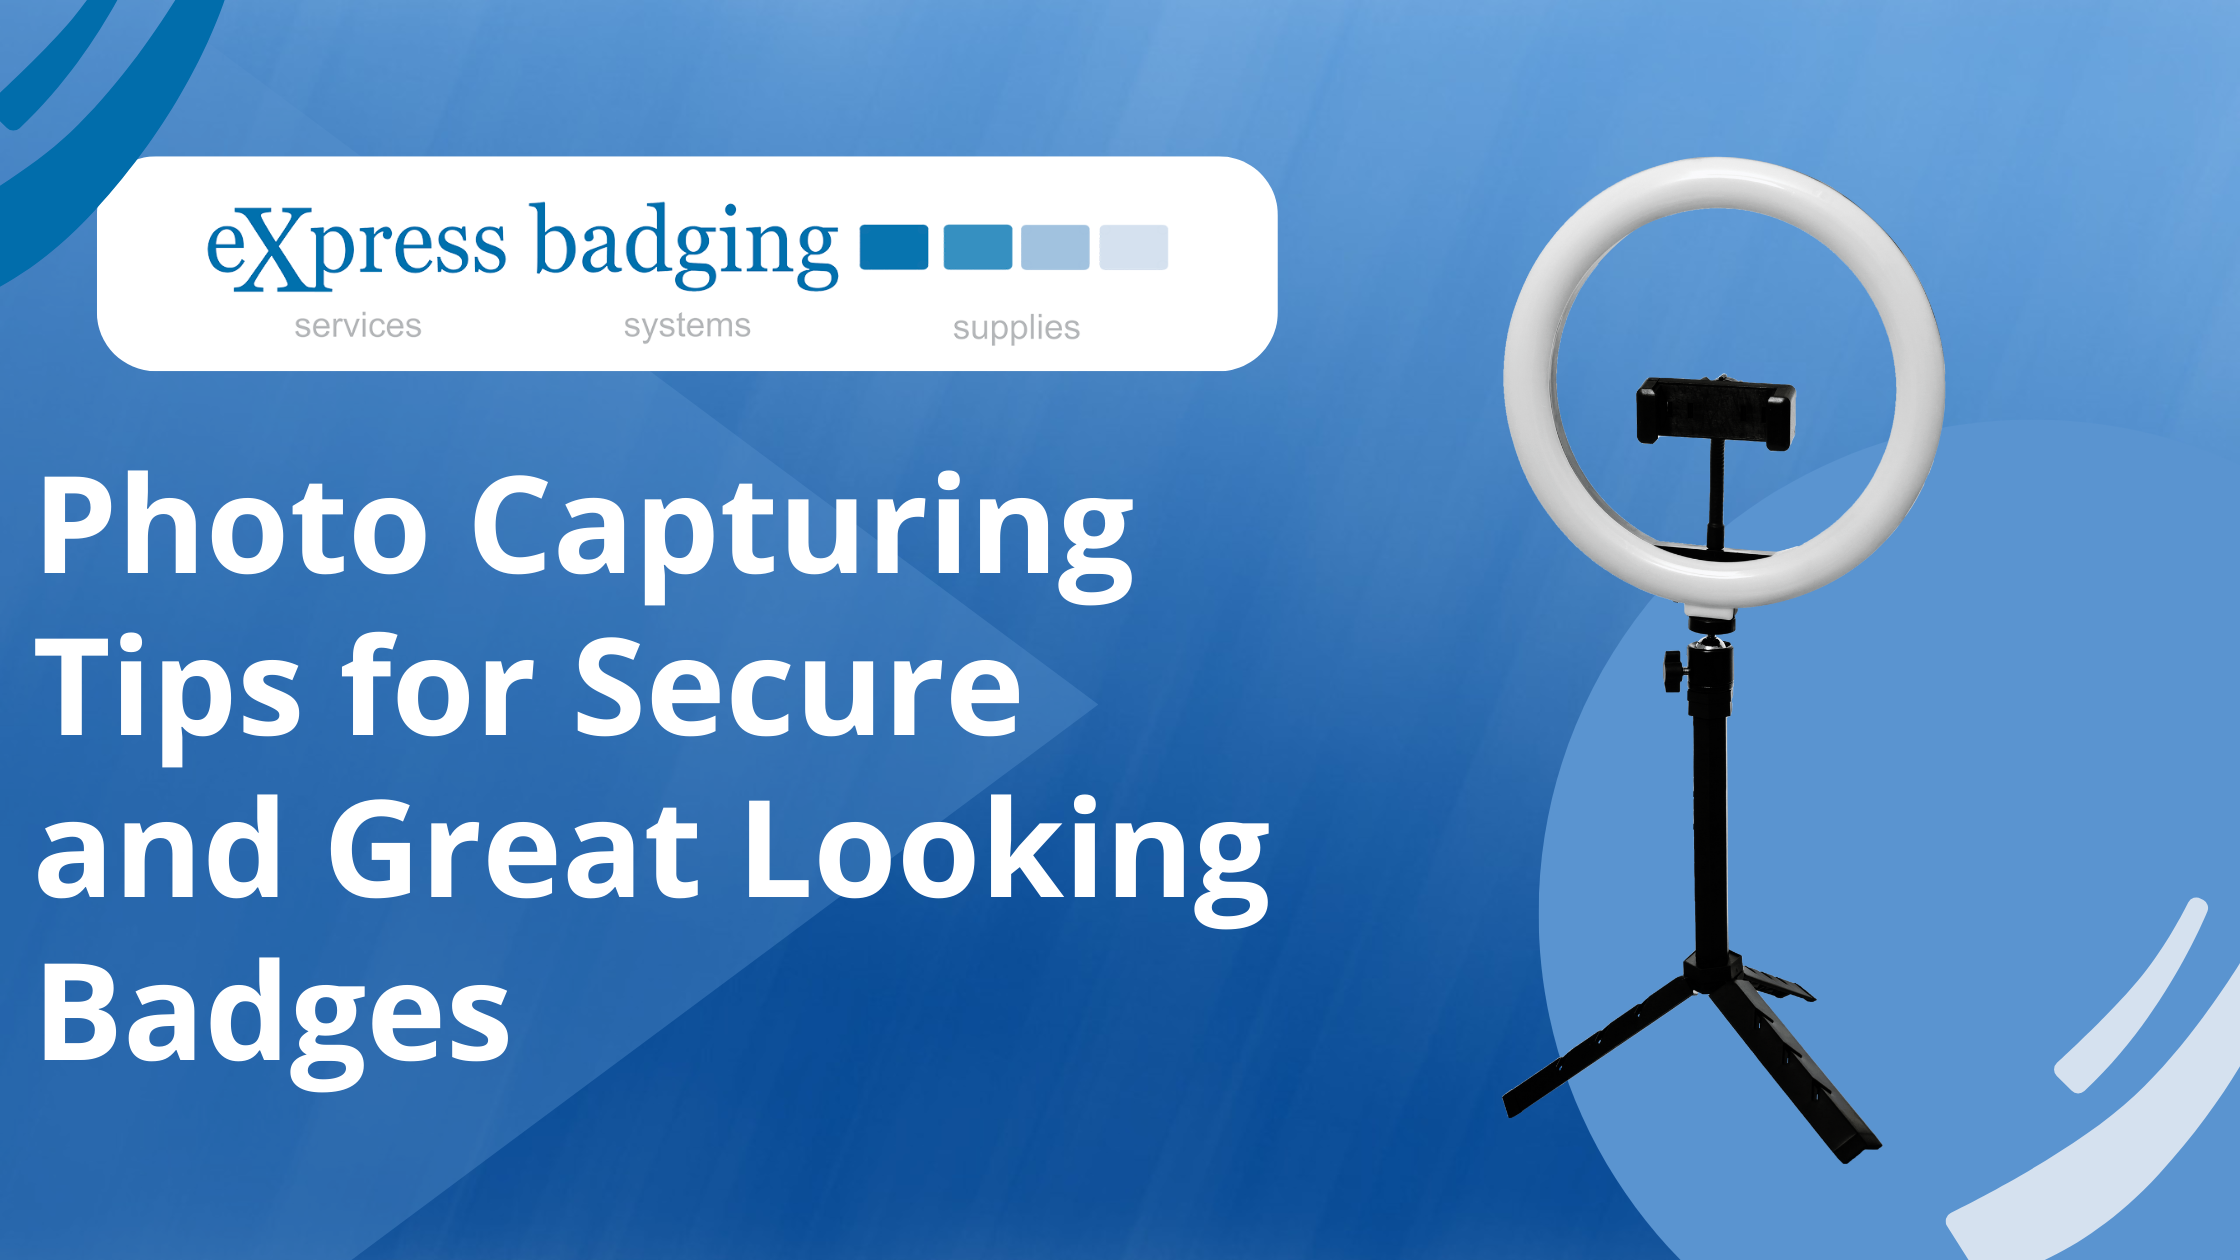
- Take a look at your lighting situation. When possible, place your chair in between your florescent lights, as they tend to produce green/yellow tints. If high quality photos are your goal, you may want to invest in external lighting. This can be as low cost as a mechanics clamp lamp that can be affixed to a shelf edge and turned on when needed. Or you can get into some high end lighting on tripods if you are processing hundreds of badges a day/week/month.
- OK, now you can activate your photo capture within the badging software, capture your photo and then view before cropping. If your lighting is not great, you should use the image adjustment tools to lighten or darken the photo.
- It is very important to crop the photo so there is only a small amount of border surrounding the face without giving the person a crew cut, cropping ears or chin.
- When storing your photos, keep in mind that this is a security resource, so your data and photos should be protected via user rights and a regular backup of photo related files. This is very important. Similar to wearing a seat belt, the probability of needing it is remote. But when you do, the time saved recapturing the photo files is worth way more than the time required set up a good back up process.

1-800-909-8602
1980 North Atlantic Ave., Ste. 525
Cocoa Beach, FL 32931
The eXpress badging® and Veonics® word marks and logos are registered trademarks owned by Express Badging Services, Inc. Protected Trademarks: eXpressPROX™, Prepaid Badging™, Batch Badging™, DURAbadge™, CELLfie™ 09/20/2022